Yes, I know, teabags are old-hat. Everyone works with them. However, in my view, they are cheap, readily available, durable but lightweight, stain well, and are an all-round good medium to use for both collaging and new paper production.
So I’m currently saving and using mine. Start point: a cup of tea of course!
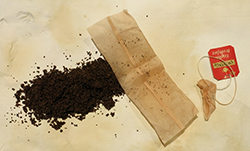 Once the teabag has been used and dried with the tea still in it I cut the bag open, remove the tea and flatten the packet. These double folded bags are great because they open out to a decent size.
So I don’t waste any of the colour I have been drying them on paper hand towels. This is great because firstly they are embossed sheets giving me some texture, secondly they crinkle up beautifully when soaked and finally they absorb the tea stains and produce wonderful patterns. I use the hand towels over and over, drying them once some staining has occurred and then using them again and again until I get the depth of colour I’m after.
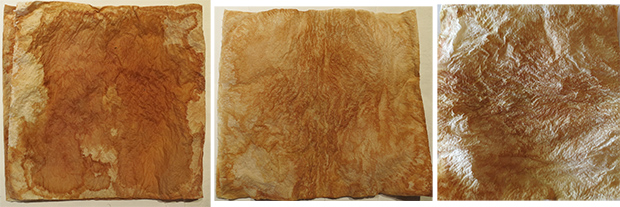 Above Left: wet stained kitchen hand towel. Middle: dried hand towel. Right: light on the surface showing the crinkling.
Tea staining paper hand towels this way made me think about what great effects I could get on some of my own hand-made paper. I’m currently working on some collagraphs that I want to collage on once printed. 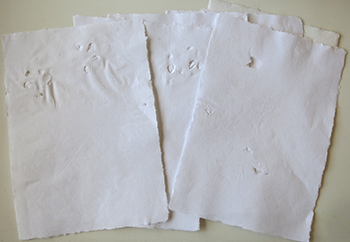 Pre-staining some of my damaged hand-made paper would be a good way of incorporating them into my project. I selected some lightweight (about 50-60gsm) white paper I made from recycled cartridge paper offcuts from some discarded prints.
The damage is obvious – dog paw prints from an over-enthusiastic ‘helper’ when my paper was laid out drying on the bathroom floor!
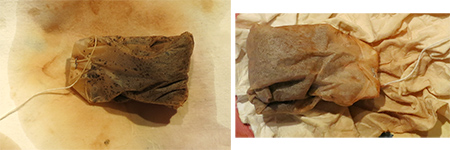 Because my own paper is beautifully flat I’m not going to get the crinkling effect of the paper hand towels so I’ve tried one lot of teabags on flat paper and another on crumpled to see what different effects I can get. I may move to using some of my own textured paper to see how the stains fall across the uneven surface. These pieces have a way to go yet until the full colour spread can be appreciated.
 Meantime, what should I do with the dried, flattened tea bags?
 Some I left as they are for collaging, but most of them I cut into small squares and soaked them ready to make new paper sheets.
Once fully softened they were liquidised, the water was drained off, the pulp was placed in a snaplock bag and frozen until needed. My freezer has more stored paper pulp than it does food I think!
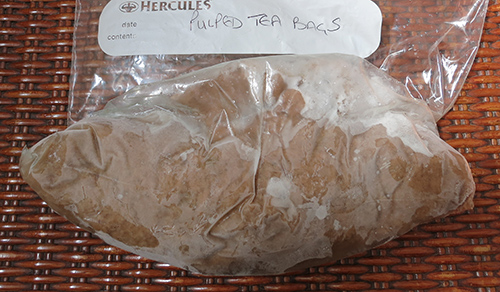 Amazingly, despite all the soaking, liquidising and draining the pulp has still retained some colour from the original tea within the individual bags. I honestly thought it would have fully washed away.
OK, stage one done. Next will be to form some new sheets and see just what colour I end up with.

Pingback: Teabag paper | TactualTextiles