Developing the design
I didn’t have a subject matter in mind when I started this project so, whilst sitting in the garden, I doodled and thought. I started with a nine square grid.
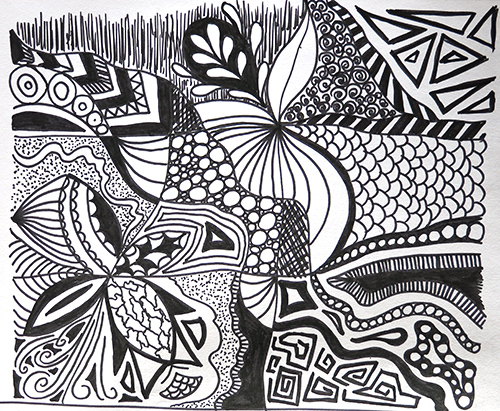
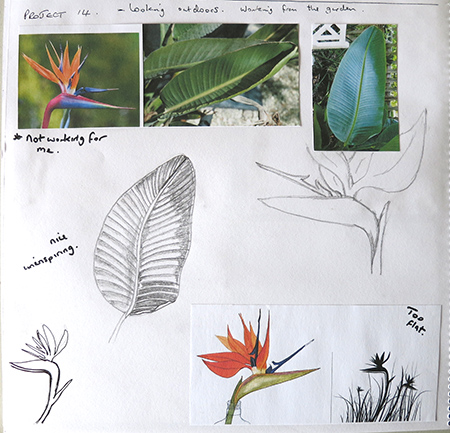
 It may be a large stretch of the imagination but one section reminded me of a stylised Strelitzia.
I looked at a lot of images on-line, drew a few naff plants and leaves, mulled it over for a while and ended up discarding it. No, that wasn’t for me – but I still like my original drawing.
 I turned my attention to the trees.
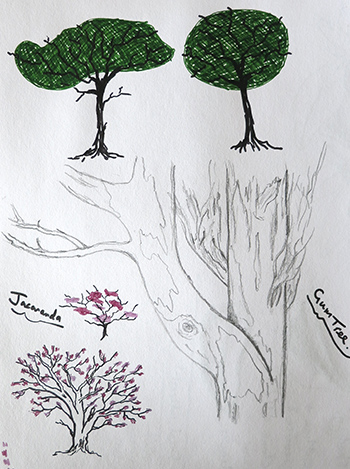 I thought chine collé could work well as foliage so I blocked these sections in. Problem is that in Australia all native trees have small foliage and I’m keen to use my local surroundings for inspiration – and I didn’t like my drawn effects anyway. So I drew a section of my huge eucalyptus tree, followed by the Jacaranda. Nice but veering back towards too much complexity for this project.
Glancing around, I spied the bird bath. I flicked through my sketchbook to some of the imagery I’d used in project 3 for back-drawing.
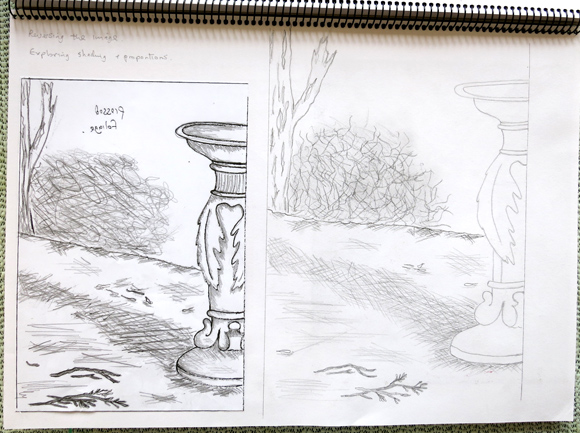
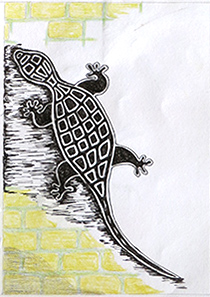 Promising, but then I saw the gecko design I’d drawn but not used during project 7.
 Finally, my interest was stirring. I needed to add some plants and they were right by the side of me, trailing down my stone wall.
I drew them with multiple layers – not my strong point.
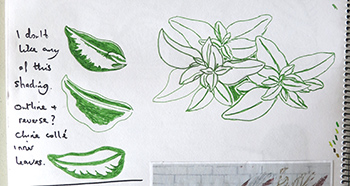 The outline drawing wasn’t too bad. I tried different effects to see what would happen if I cut away sections and placed coloured tissue between print layers. Yeah, awful.
I turned to one of my favourite wood block printers, Margaret Preston, and perused the tombstone-size book of her prints I own. She specialised in flora, both in natural settings and contrived arrangements, and I wanted to better understand how she translated dimension into simple forms for printing.
 The greenery in the above prints have had the positive imagery removed with just the surround and shadows remaining. The positive spaces have then been hand-coloured. In my case I’d like the positive spaces to showcase my chine collé, bringing colour to my foliage.
Rather than Photoshop the above green line-drawing on white and reverse the polarity I redrew some leaves with white chalk on black paper. A perfect negative image.
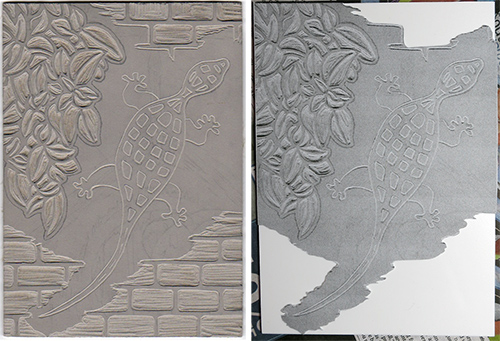
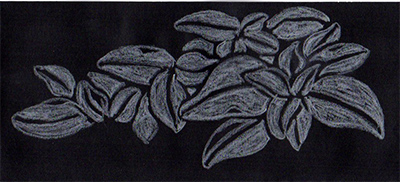 This was scanned, duplicated and resized several times, printed and cut out. These were layered onto the gecko image, other adjustments and additions were made and the entire piece was traced ready for transfer to the lino block.
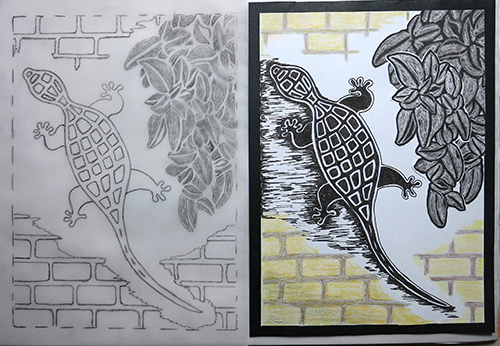 The lino was marked and the basic design cut out. The piece was then photocopied several times and paper masks were cut for future use.
A stencil mask was taped to foamex board with only the brick sections visible. Impasto gel medium was applied to the exposed areas in rough horizontal lines. I’m hoping this will create a surface effect that resembles bricks.
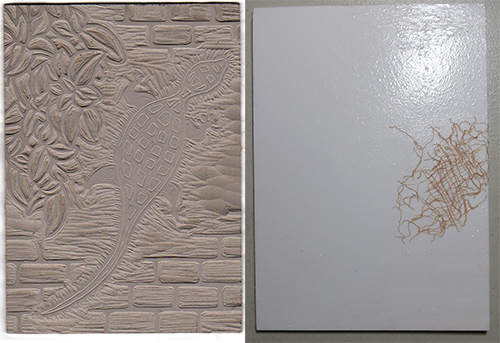
Left: the finished cut lino block ready for inking. Right: foamex board for combined monotype/collagraph print.
The foamex board also had some manipulated scrim attached and the remainder of the board (excluding the impasto treated sections) was stippled with Mod Podge. So both the lino and foamex board are ready for printing.
Fine Japanese papers were selected for the chine collé and, using another stencil, these were cut to shape.
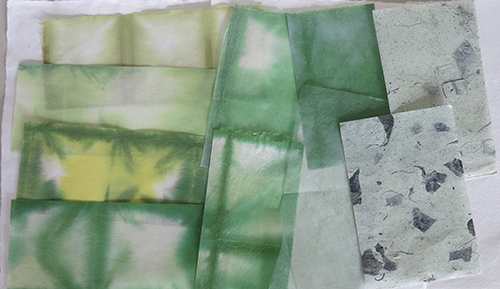 Some pieces were kept aside to experiment with once I’ve got the hang of the print and glue process.
There was quite a journey from the initial doodling to the finished design. I’m very happy with this composition and it fits not only the course requirements but also my personal brief, aims and goals.
Resources:
Strelitzia picture from http://www.flowerstub.com/category/strelitzia-reginae/
Roger Butler, The prints of Margaret Preston – A catalogue raisonné, published by NGA, distributed by Thames & Hudson (Melbourne & London), 2005. ISBN 0 642 54191 4. Pages 114 & 180 (close-up sections from larger prints).

