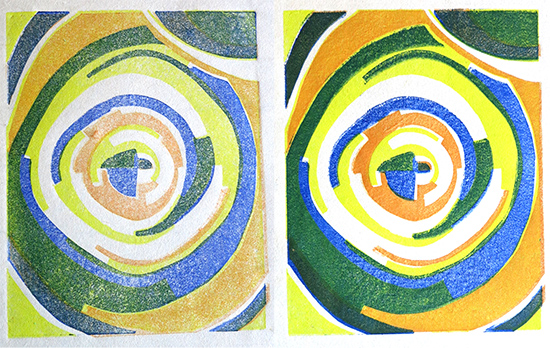
At the end of my last post I had decided to move to using print press runners and hand alignment, abandoning the jig.
At the same time, I also decided to try some lighter weight Japanese papers without dampening them.
 The above prints are both on Iwaki paper, it has a fairly smooth surface but I didn’t apply enough ink to the first piece.
The first layer (yellow) went through the print press with cardboard runners alongside the lino. These were made to the length of the print plate so there was no ‘bumping’ as the roller reached them, they were trapped under the roller from the start. This system worked extremely well.
The paper was removed from the press and laid image side up. The second inked lino (orange) was hand-held, ink side down, above the print and carefully placed over the first layer. It was at this stage that I realised two things: 1) If the lino is even slightly warped it is severely difficult to get it accurately in place because once pressed down it shifts. 2) If the lino pieces are cut even a millimetre differently in size they will never match up (damned obvious actually!!). Of course both those aspects were in play for these prints. Nothing about this is straight forward.
The third layer (blue) was done the same way as the second. Even though they haven’t lined up 100% I like the idea of this hand-registration as each layer goes through the print press individually (instead of being held in place as in my last samples) and in the same direction. The runners are really helping to stop any shift as well.
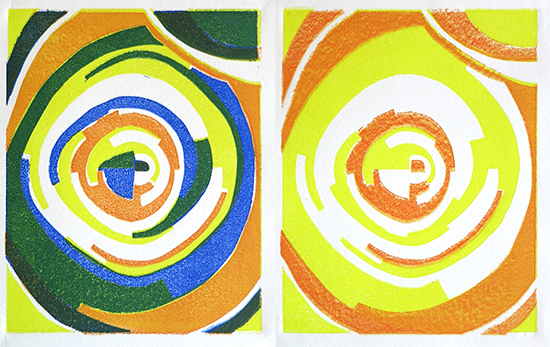
 Above prints are on Awagami Hosho, again dry. This paper has a beautiful soft smooth surface.
Again, the first print is slightly out of alignment and after doing the orange layer on the second print and moving it I didn’t bother to continue with the blue. I accidentally smudged the orange layer as I put it in place.
The ink transfer definitely appears better on heavier weight dampened paper and these prints aren’t as solid as the previous ones.
So overall not a complete success but, again, another thing learned. I could continue indefinitely trying to get this section right but I’m going to leave this project here and move on to the next one as this also involves lino printing. So I’ll get more practice with these techniques in project 8.
I’d like to think I’ll come back to this project and make some new improved imagery but I’ll see how I get on with the next part first.
