Circles prints.
I’m getting good ink coverage on my print transfers and the new inking up process is working well, as are my good quality rollers.
I have a range of 3 layer prints, none of which I feel are quite up to standard and none of which I wish to send to my tutor for assessment. Registration has shifted on pretty much all of them. I’ve made about 30 prints with only perhaps 3 being passable. I’ve used a range of jigs, registration plates and runners but the methods I’m using aren’t holding the paper in place for multiple runs and I’m getting a shift of about 3mm between first and second colour layer.
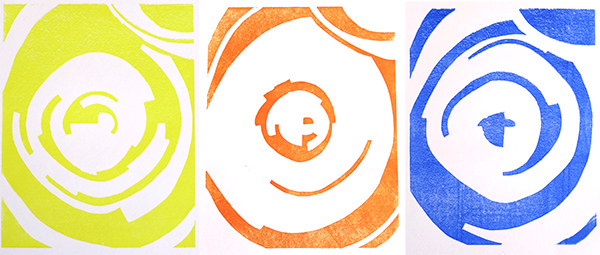 Above: Single layer proofs on cartridge paper.
After many trials with various jigs and registration methods I cut a piece of thick cardboard to the size of my print plate. I cut out the central portion, fractionally larger than the size of my lino. The lino then sits recessed within this jig abutting one corner. Paper is cut to the same length as the print plate.
The idea is that once all the layers are in place and the print has been taken, the print roller remains at one end of the plate holding all the layers in place. The paper is lifted up and the lino is replaced with the next colour layer. The paper is carefully laid back down over the second lino piece and the second print layer is made through the press in the opposite direction to the first layer.
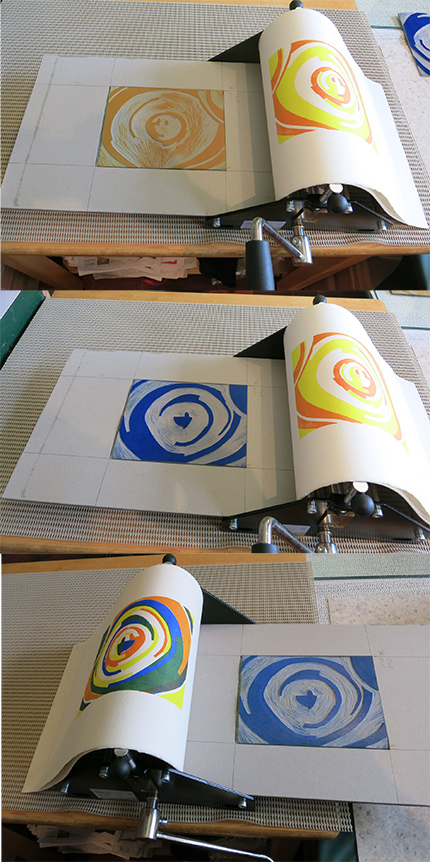 1st image: The roller is holding the jig, the printing paper and the top covering in place after 2 layers have been printed. 2nd image: The orange inked lino has been replaced with the next lino piece to be printed in blue. The paper is then laid back over the jig and lino, and nothing should have moved because the roller at the end holds everything stable – in theory. 3rd image: After the third print layer has been taken. Looks perfect, except I’m getting a few millimetres slippage.
It seems that on a small press such as mine, with a reduced print plate size, any slight movement of the materials by the roller exerting downward pressure makes a big difference to the outcome. Using a small cut lino piece, as above, on a machine with a much larger press-base dissipates some of this effect. I know this to be true as I’ve lino printed on huge presses and this movement doesn’t occur.
Here are a few of the prints I’ve done, albeit most with the slightly out of alignment registration.
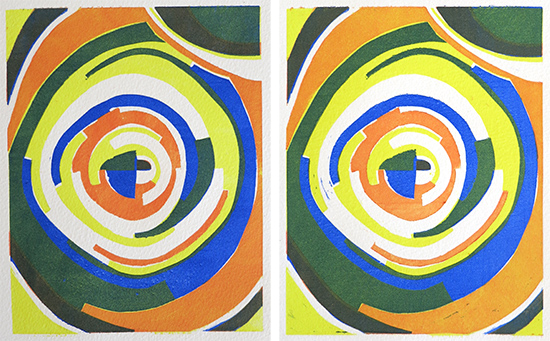 Registration fairly good on these, just a couple of slight marks from the blue inked lino.
Left – Arches 250gsm Right – Hahnemuhle 350gsm
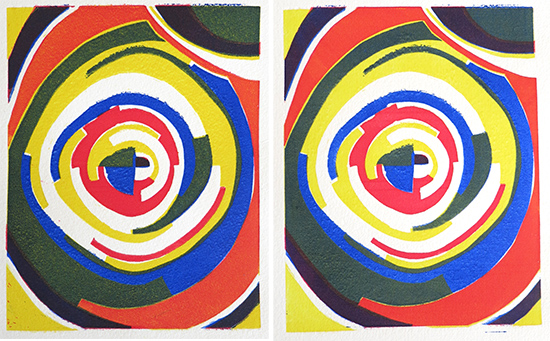 I was very careful not to repeat the slight marks from the previous print. There is some bleeding on the final blue layer which has resulted in a fuzzy outline to the prints. The paper slippage is also obvious. Both prints – Hahnemuhle 350gsm
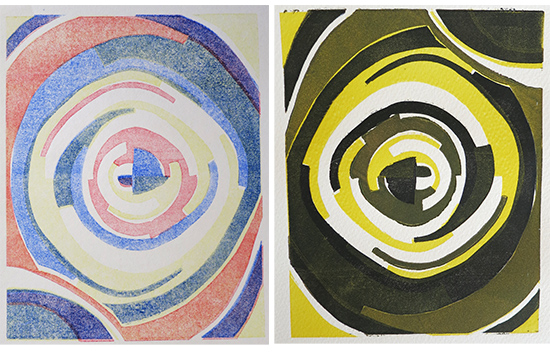 Above left: Cartridge paper ghost print. Right: Somerset 250gsm, showing some movement and slight colour bleeding.
By this stage I decided to stop printing on my good paper as it’s costing a fortune for prints that aren’t perfect.
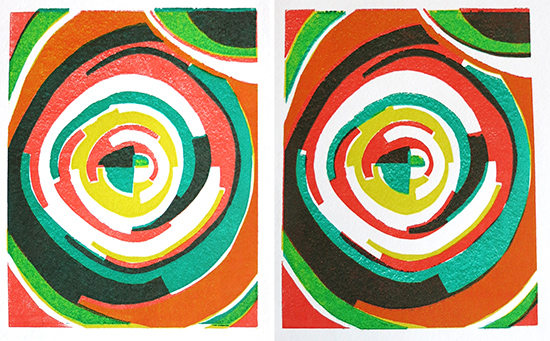 Both prints on Cartridge paper. Great colour transfer, terrible alignment. I’m about to go crazy.
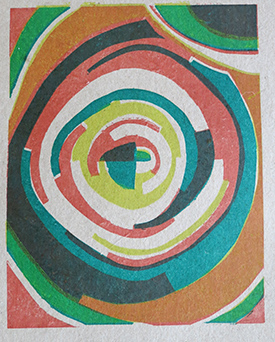 Left: Elephant dung paper, not terrible but not great either.
So, the proof is in the pudding (or in my case: in the number of mis-aligned prints), using the multilayer registration method (taught by Tony Ameneiro) on my small press doesn’t work sufficiently well. The print paper moves fractionally out of alignment, and that is enough to ruin the final outcome.
Time to regroup and have a think about moving back to runners and hand alignment without the jig.

Claire to the novice eye the prints look good. i can see the slight movement only when it is pointed out. I think you are doing really well working through this difficult and frustrating process.
Thanks Gail. I’m finding it hard to know exactly how precise we should be. Obviously a part of the learning curve is to register correctly but I think a time comes when you just have to move on and hope that as the course progresses you improve.
Pingback: Print 1. Assignment 2: First relief prints | TactualTextiles