Exploring the Flower Foot
Now I have some decent felted samples I’ve been trying out the flower foot attachment for my sewing machine.
 I first used it back in Assignment 3 Workshop 6 where I was manipulating fabric and I created a semi-structured silk hanging.
I was hoping to make my large felted piece with an integrated front layer of dyed tissue silk and have the silk extend below the felted base with the flower foot circles grouped in this area. That was until I encountered huge problems working on the tissue silk.
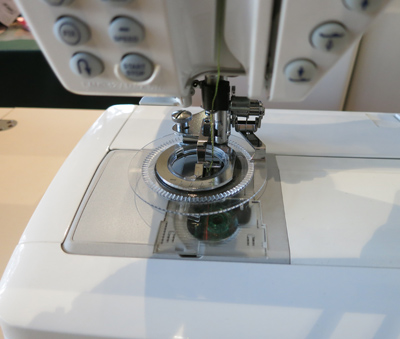
The flower foot attachment, shown above, is brilliant …. for certain things. The feed dogs are down, the presser foot is at maximum pressure to aid the fabric grip and as the wheel turns the fabric rotates and, in theory, it stitches a circle on the material. Fabulous on felt, both bought and handmade, or other rough reasonable weight fabrics. but rubbish on flimsy floaty fabrics. They simply won’t stay in place and slide around so the effect is completely distorted and lost. I tried numerous frames to hold the fabric taut, I used Solvy top and bottom but all to no avail. Sorry, no pics as it was all pulled out so I could re-use the silk. When using a fine fabric there is not enough body for the presser foot to grab and hold in position. Obviously this is the point of trials!!
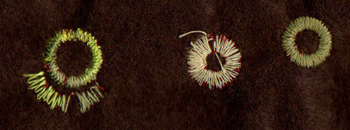 So I decided to use it on the felt itself. I put regular polyester sewing thread in the bobbin throughout and adjusted the tension depending on what I was using on top.
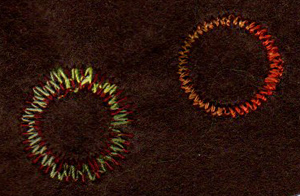
These samples are on acrylic felt.
Sometimes I allowed the yarn to sit fully on the surface, especially if it was variegated because you get a good colour change effect, and sometimes I tightened the top so it would pull the lower thread up to the top. I wasn’t too concerned with what colours I was using because it was the circle sizing, the tension and the density of the stitching I was looking at.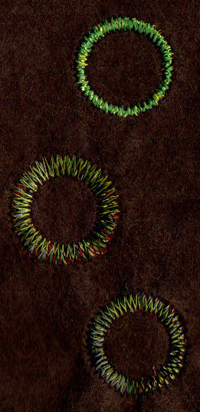
The threads ranged from 40wt to 12wt, cotton, polyester and rayon.
Depending on the position of the wheel, which can be adjusted from left to right, the circles can be larger or smaller. Likewise with the width of the zig-zag chosen and the closeness of the stitch.
For this project I only want to use a normal close zig-zag but other stitches including curved lines, overlocking stitches and certain other fancy stitches can be used to good effect. If they don’t join up on a single full rotation then you keep going round and round creating quite intricate patterns. Similar idea to a Spirograph (and who didn’t have one of those as a kid?), only in miniature.
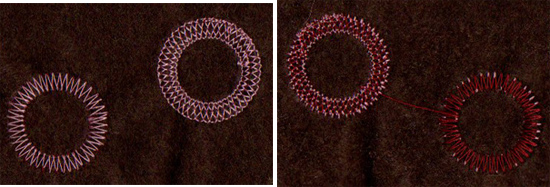 Above is my first attempt at something where the fabric was rotated about 5 times until this lovely lacy effect was created. The stitch was a zig-zag spaced with a straight stitch in between each. Pictures show front and back.
I then moved to my handmade felt sample as it is a lot more flexible than the commercial acrylic stuff.
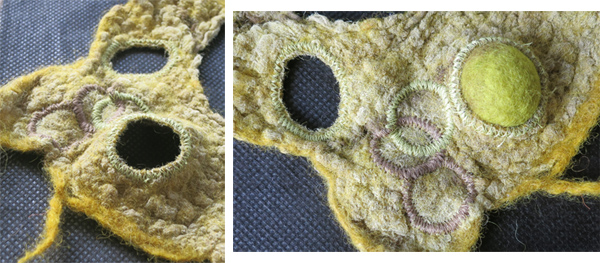
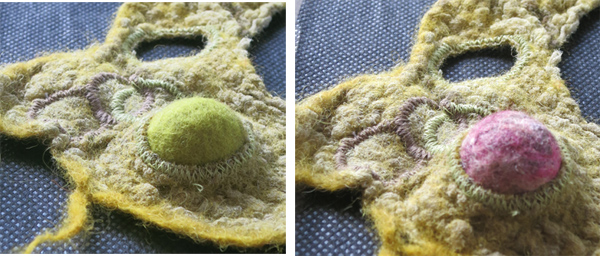
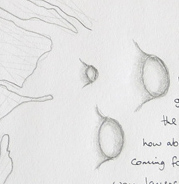 Once some rings were made I cut a couple out and stretched the felt around one and there I had my little volcano style eruption, just like I had drawn back in Stage 3.
I took some felt balls and cut them in half with the carving knife and poked them through the hole. Brilliant.
So after a fairly long-winded and frustrating start I feel I have achieved a lot with this section and I’m ready to move forward and make my main felt base and start my flower foot embellishment on the real thing.

