Manipulating Fibre & Yarn
Here I’m creating samples for the textural surface of my hanging by using wool fibre, pre-purchased yarns and some of my dyed lightweight silks.
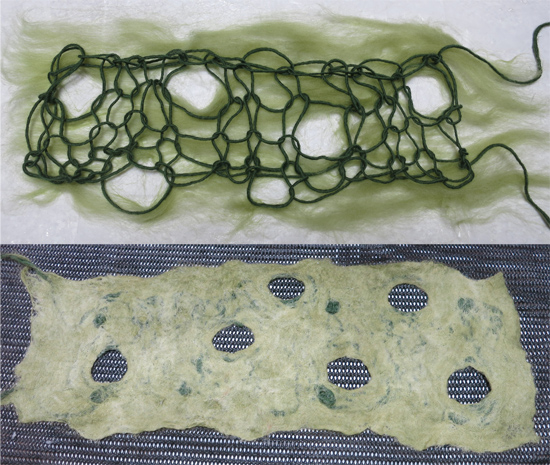 Above: Loosely knitted wool trapped between wool fibre. Aim – to see how much the yarn shrinks and shows through the roving. First trials in hole making.
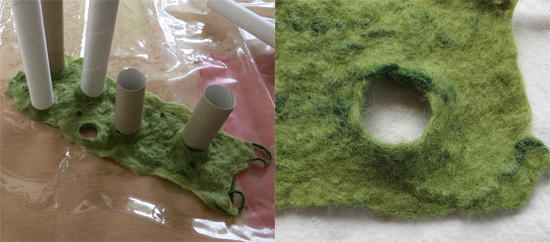 Above: Drying the piece with holders inserted to create raised edges. Aim – To create a raised ‘volcano’ edge. This wasn’t 100% successful as the wool used was corriedale and was very course and hard to manipulate, even when wet. It became very stiff and unyielding. It was a mistake to try this fibre and I moved immediately to merino.
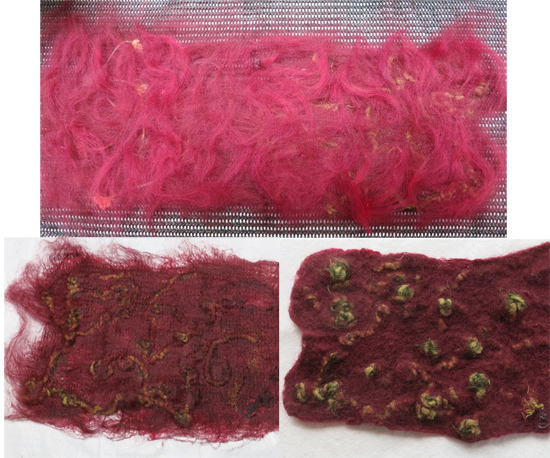 Above: Wool and synthetic bobbly yarn had big knots tied along the length. This was then sandwiched between wool roving. Aim – To build a very lumpy surface. This worked well and it was possible to manipulate the roving away from the knots easily when wet which allowed more of the yarn to show. A contrasting colour was used for this sample to enable me to see the result better.
 Above: 100% wool yarn (left over from the weaving project in A Creative Approach) was loosely knitted. It was then placed in the washing machine on a high heat, followed by the dryer. Aim – To see if a knitted surface would successfully felt and cover the base fabric. The result is very, very thick and would make a superb floor or door mat as it would be extremely hard-wearing. However, for this project it isn’t suitable as it is too heavy and I’m not able to incorporate other times within any layers.
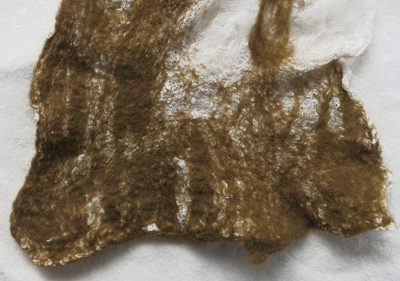 Above: Minimal wool roving applied to cotton gauze (scrim, muslin). Aim – to see how one very thin layer of roving would react when felted on to an open weave base. I’m trying to see how I can create different thicknesses of fibre in different areas of the art work. This result is not what I want as there is a definite linear look to the fibre. The direction it was laid in is very evident.
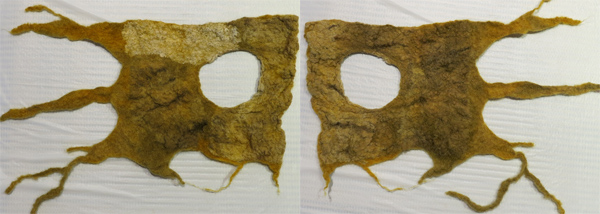 Above (front and back views): Wool roving was sandwiched fairly thinly between two layers of dyed tissue silk (click here for tissue silk dyeing). One area (top left on left hand photo) had more of the cotton gauze applied. Aim – Continuing to explore making a textural but thinly layered fabric. Looking at different light-weight fabric choices. Examining creating shapes, holes and tendrils. Result – definitely time to abandon the gauze.
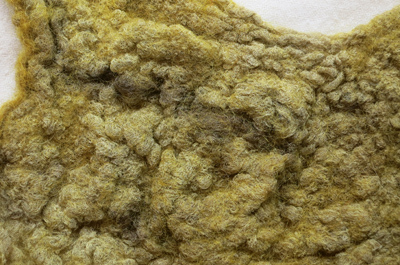 Above: Close up of previous piece. I think I can reduce the fibre even further on the outer reaches of the piece. I am extremely encouraged after this sample.
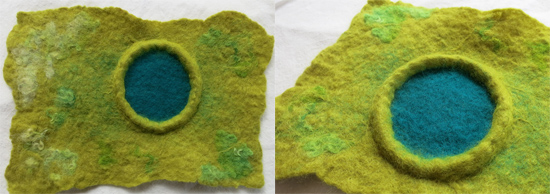 Above: Creating a more definite raised shape. Aim – to improve the precision of my shape making and layering. Whilst serendipity is good, I have definite ideas how I would like the piece to be formed, manipulated and what the outcome should resemble. Whilst I may not want exactly circular apertures, practicing them will improve the results of those shapes I do wish to achieve.
 Above: Making coloured felt balls and stuffed icord. Aim – Examining balls that can be cut and placed within the work to make mounds. First thoughts in cord making. This cord has been French knitted with fibre stuffed within as it was knitted. Result – long-winded, hard to stuff, uneven, too much of the outer casing showing. In fact, no redeeming factors.
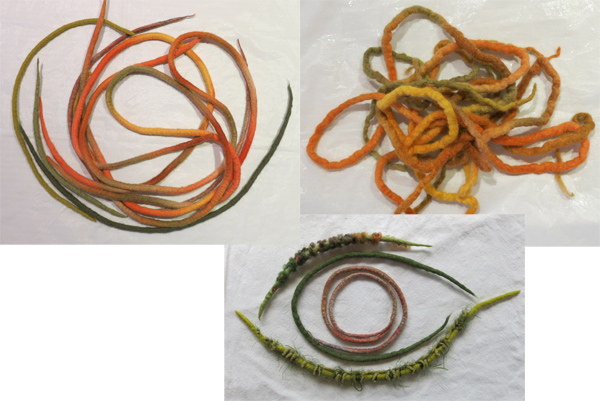 Above: Cords from wool roving. Some have later been embellished with pre-purchased fancy yarns in buttonhole stitch. Aim – To create cords to sit on the surface of the work and (hopefully) to weave through some of the layers. The top left samples have been formed, smoothed and straightened but the top right ones have been left more organic after fulling. I prefer these as they fit better with the organic nature of the lumpy, bumpy surface of the created felt fabric they will sit on.
