Planning and making the main body of my project.
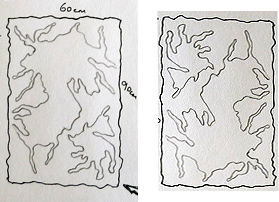 I’ve chosen this drawing from Stage 3 as my initial rough template and rotated it by 180° as the weight of the piece feels more balanced in this format.
I’ve tackled the foreground felted pieces first as they will shrink around 35% and it seems wiser to match the background size to this than vice-versa.
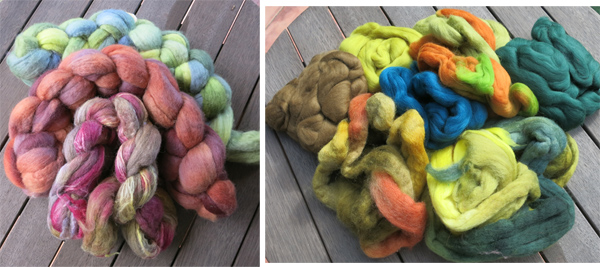 Left: Some English Blue-Faced Leicester fibre which is more likely to be used for later embellishment and cord making. Right: A selection of dyed merino wool, most of which will be included in some areas. My main choice is the skein on the bottom left (green/brown, orange and yellow) which I dyed myself.
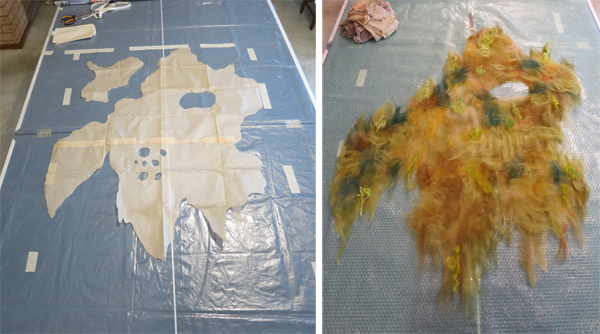 Left: Work-table template marked out at full size + 35%, to allow for shrinkage. Tissue paper template for felting cut to size + 35%. I’m ignoring the smaller holes I’ve cut out at this point and will create them once the piece has been felted. Right: Bubble-wrap placed over the tissue template with fibre laid on top, ready for the dyed tissue silk to be positioned as the top layer.
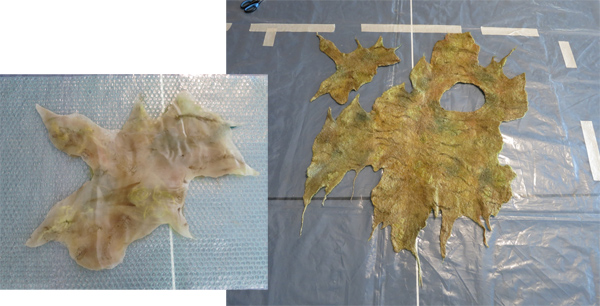 Left: Smaller template section showing the fabric laid on the wool fibre surface prior to felting. Right: The completed felted pieces against the original work-table template showing the shrinkage.
The background started off as per my experimentation in Stage 5 using multiple small pieces of my dyed silks, tea bags and torn tea-stained kitchen hand towels sandwiched between black netting and weed suppressant, then free machine stitched in place. I first tried this technique in Workshop 6 in Assignment 3.
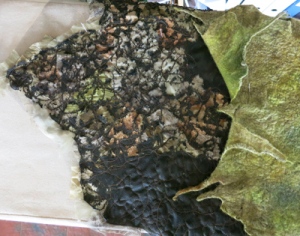 Right: The felted pieces were laid over the base and then the heat gun was applied to the areas that will show. Some places had more weed suppressant removed than others to give variation in colour.
Brown/green glass organza slivers were placed in some areas protruding from under the felted sections and brown tulle netting was placed over the whole base.
This was then free machine stitched again and heat was applied in some areas to soften the edges of the organza and help it integrate into the previous layers.
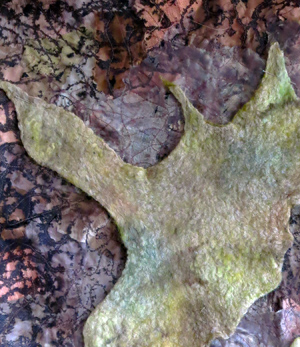
Left: Close-up of a section.
The entire piece was sewn using polyester thread and as the heat gun was applied to the surface the stitching contracted a little and added more texture producing an uneven ruching / bubbling effect.
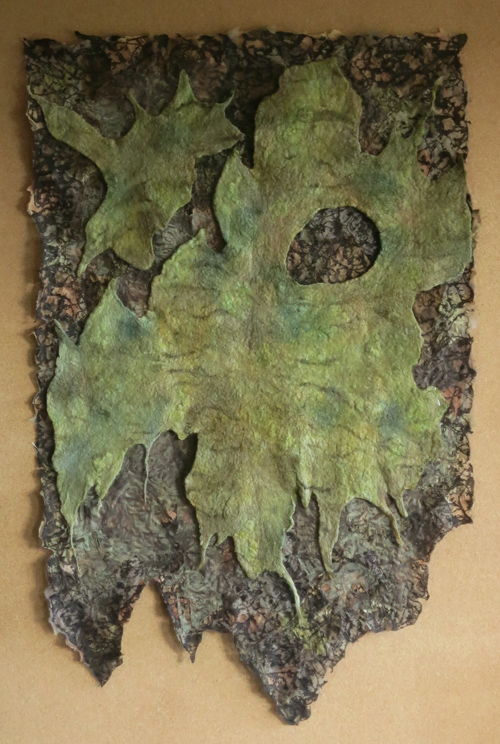
Running my palm over the surface I find some areas soft and quite smooth (the unheated organza and net sections) whilst other places are hard and scratchy (the melted and burnt weed suppressant balled up into coarse globules and narrow strips). Having laid down 5 layers and carefully burned away to different levels I have produced a base fabric with some excellent depth, an integrated colour scheme and tactile interest.
Below: The piece so far.

Claire, it is looking promising! Can’t wait to see it finished….
Claire I am really iritrigued to see the finished article. Your descriptions of the process are excellent
Hi Gail, I’m really enjoying this piece but as usual with me it is increasing in size and complexity by the day!!
Glad you like it so far.