
The first half of this year has been full of experimentation in my world of printmaking, and last week I joined a one day woodblock printing class. I’ve done a lot of lino carving, quite a bit of Ezy-Carve soft block carving, and a minimal amount of vinyl and wood carving.
We were a class of seven students, with Lisa McArthur-Edwards guiding us throughout. The venue, The Makers Studio on the Central Coast is extremely well set up: a couple of etching presses, drying racks, clean workstations, plenty of space, lots of equipment such as rollers/brayers, spatulas, inks and the like but, most importantly, great lighting. I’ve been in many a workshop squinting when trying to work, this isn’t one of them.
We’d been asked to prepare a couple of designs around A6 size in advance. Tip 1: never turn up to a workshop with no design idea in mind. It’s such a waste of time trying to work something out on the day. Even having a source photo to work from or a vague outline is better than nothing.

The wood turned out to be square but with a starting design it was easy to adapt. We used Luan Pine – also known as wiggle wood, wacky wood, bendy wood, snakewood, meranti or Lauan.
Lisa had applied colour to one side of the wood pieces. Tip 2: painting the wood surface in advance and tracing using a light coloured Saral transfer paper makes the design very easy to see and cut.


Tip 3: Use a Bench Hook when carving any relief material. The front lower ‘lip’ sits along the front edge of your workstation and your woodblock/lino etc. rests along the back and side which stops it slipping.
Note: if you are left-handed be aware of the Bench Hook side strip in case it hinders your cutting. Various models are available or you can make your own easily and reposition the side strip on the other side away from your cutting hand.
After cutting the design a light sanding was given to the block to smooth the surface and remove any stray wood fibres. A light coating of Shellac was applied.
Tip 4: after a plate has been made, Shellacked and printed, adjustments can be made with more carving but further Shellac should then be applied.
Tip 5: to roughen up the wood surface, creating a more grainy effect when printing, use a steel brush along the grain before applying Shellac.

We used oil-based relief inks, applied to our blocks with a roller/brayer, before printing through an etching press.
Tip 6: when using an etching press for relief printing runners are required along the press bed. Blankets are not used but are replaced with something harder (to avoid the paper embossing into the carved areas) such as cardboard, mountboard, acetate, neoprene or a piece of floor linoleum.
Tip 7: relief printing can be done on most weights of paper and works particularly well on light weight paper and those with a smooth surface. Paper should be dry, unlike many other forms of printmaking where paper is dampened in advance.

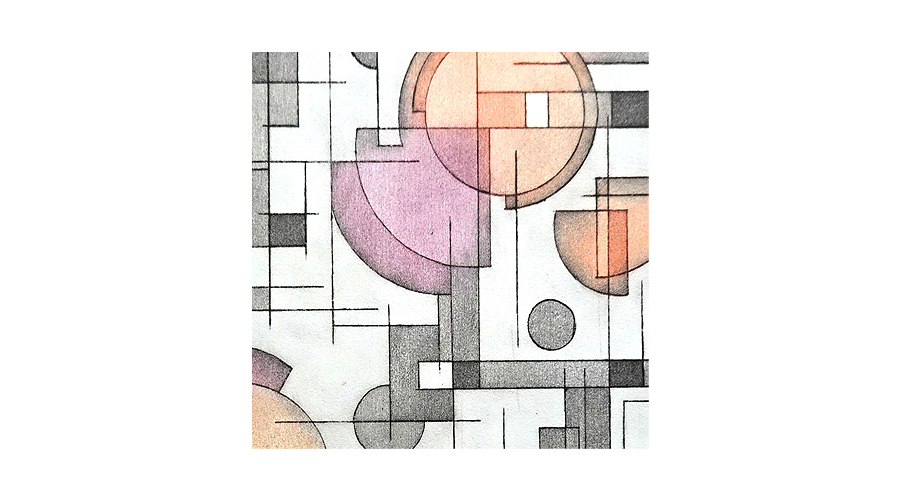
Above: a selection of 2 layered prints I created on the day.
Tip 8: My final tip is to select a better quality wood than we used as it was extremely difficult to cut, which is evident in some of my somewhat jagged edges in the prints.
I haven’t covered carving tools here as that’s quite a large subject on its own but, suffice to say, they should be SHARP and repeatedly sharpened as you use them.
A great day, excellent tuition and a reminder about a technique I haven’t used in a long time.


Leave a Reply